Bulk verification guide
How to verify the list of emails, step by step guide

Vladimir
Last Update 4 years ago
1. Uploading the list
NOTE: Your list must meet some requirements:
– Only CSV, XLS and XLSX formats are supported.
– Only first column with email will be verified.
– If the email is not found in the first five lines, the file will be recognized as corrupted.
2. Creating task
If upload was successful card of new task will appear at your dashboard automatically. You can start validation whenever you want. Press "Start" button when you see "Ready to go" status.
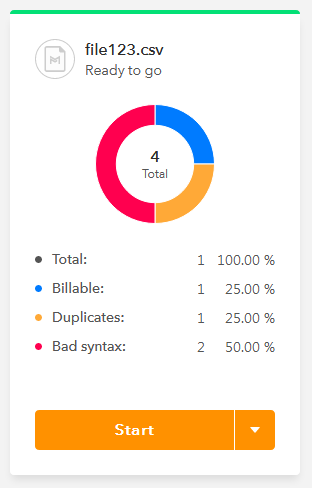
Green progress bar at top indicates that task is ready to start. The modal window will show the value of validation in credits - you will not spend your credits accidentaly. Confirm the operation and your list will begin to validate.
3. Downloading results
Cards with blue progress bar are completed and ready to download. Click "Download" button and customize your results download or choose one of presets to do it.
NOTE: Tasks created by integration have "Sync" button. Press dropdown arrow near it and choose "Custom download" to download your list.
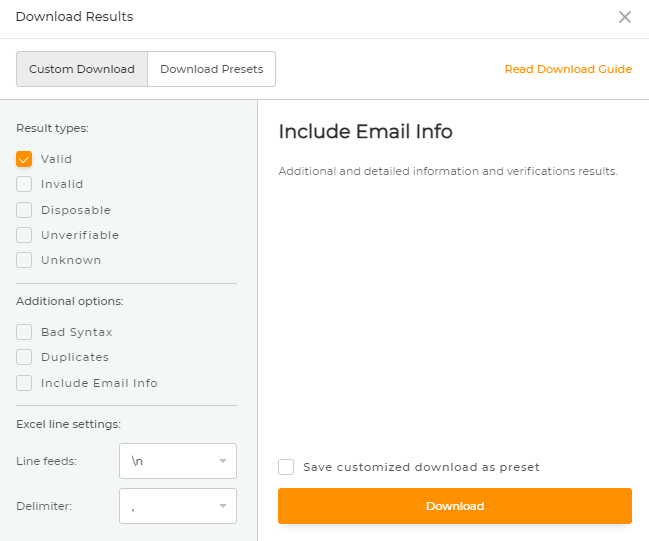
You can save the selected parameters as a default preset by clicking on the "Save customized download as preset" checkbox. This preset will be available for future use.
Our "Validation results" category will help you with understanding validation results or some possible issues