Verification via Integrations
How to verify lists from another services

Vladimir
Last Update há 4 anos
With Mailifier you can import list from another services to validate it. We are constantly trying to update the list of supported integrations every month. You can check our plans in our roadmap or just write message to us if you have ideas about new services to integrate.
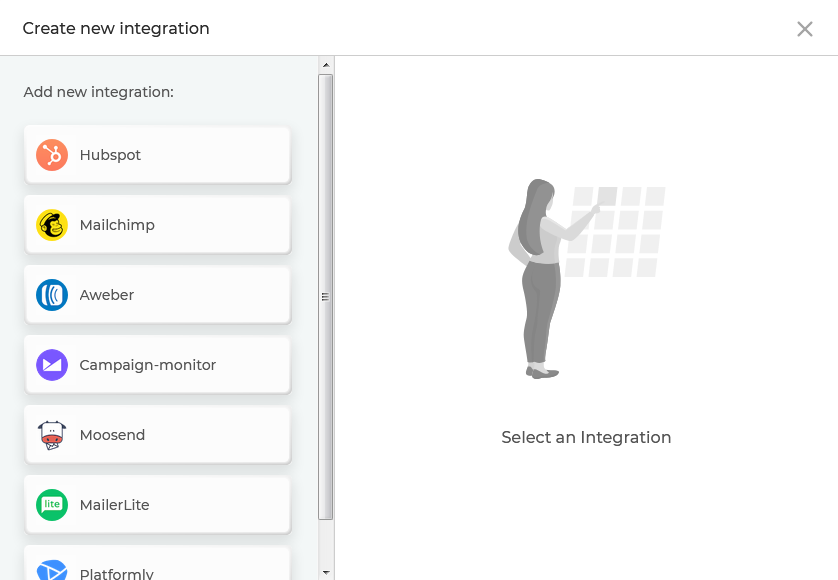
1. Creating new integration
Go to "Bulk" tab in your dashboard and hit the "Integrations" button. Choose one of available services in left sidebar and click it.
There are 2 types of connections - OAuth and API key. In first case you should just press the button "Connect account" and login to your account at selected service. For second case you should have API key of your integration at services you integrating. Press "Get lists" when key will in place.
NOTE: This operation can take some time due to waiting a response of service you integrating with. Please, do not refresh page until integration will in place.
You can rename your integration by pressing "Edit" icon at integration card at any time.
You also can delete it with "Unlink"(🔗) button.
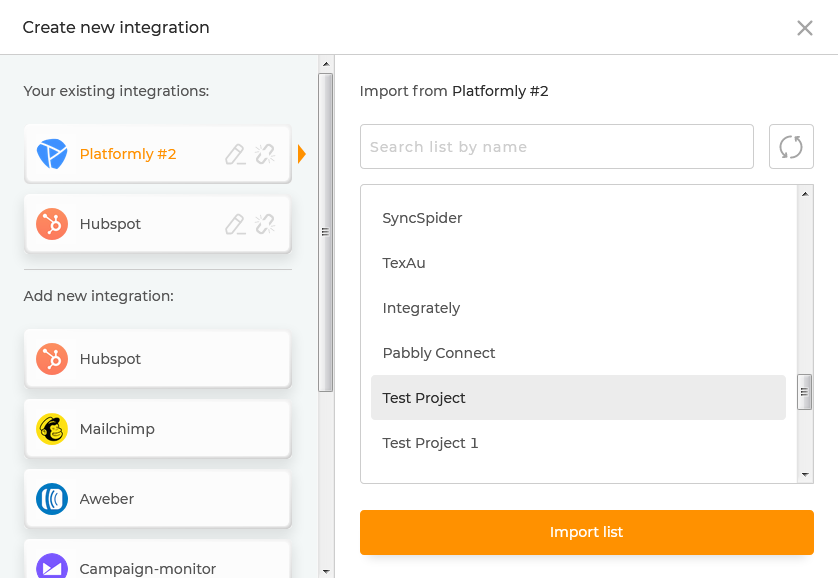
2. Adding list to integration
Select a list and press "Import list" button. You can also use search to find list that you need. If you added new list to your connected account and want to see it - press "Refresh" button. It will get latest and actual list from your service.
Imported list will create new task at your dashboard in "Bulk" tab. You can validate and download it as usual uploaded file.
3. Sync / Sending results back
There is another great feature called "Sync". When you have validated your list from integration you can send results back to your list in your connected account. Just press the "Sync" button at task card.
Sync creates 2 new fields in your list - MailifierValidationStatus(validation result for email address) and MailifierValidationDate(date of validation).
4. Downloading results
Cards with blue progress bar are completed and ready to download. Click dropdown arrow near the "Sync" button and choose "Custom download" to download your list.
You can save the selected parameters as a default preset by clicking on the "Save customized download as preset" checkbox. This preset will be available for future use.